Project help / start method
Make a magic ring, then return to your first round.
A four-step visual reminder for making an adjustable center. Each state is separated so you can check the hook and loop before returning to Round 1.
In the coaster: Used at the center of the granny square coaster. The project also offers a chain-4 ring alternative.
Return to Round 1 in Make Mode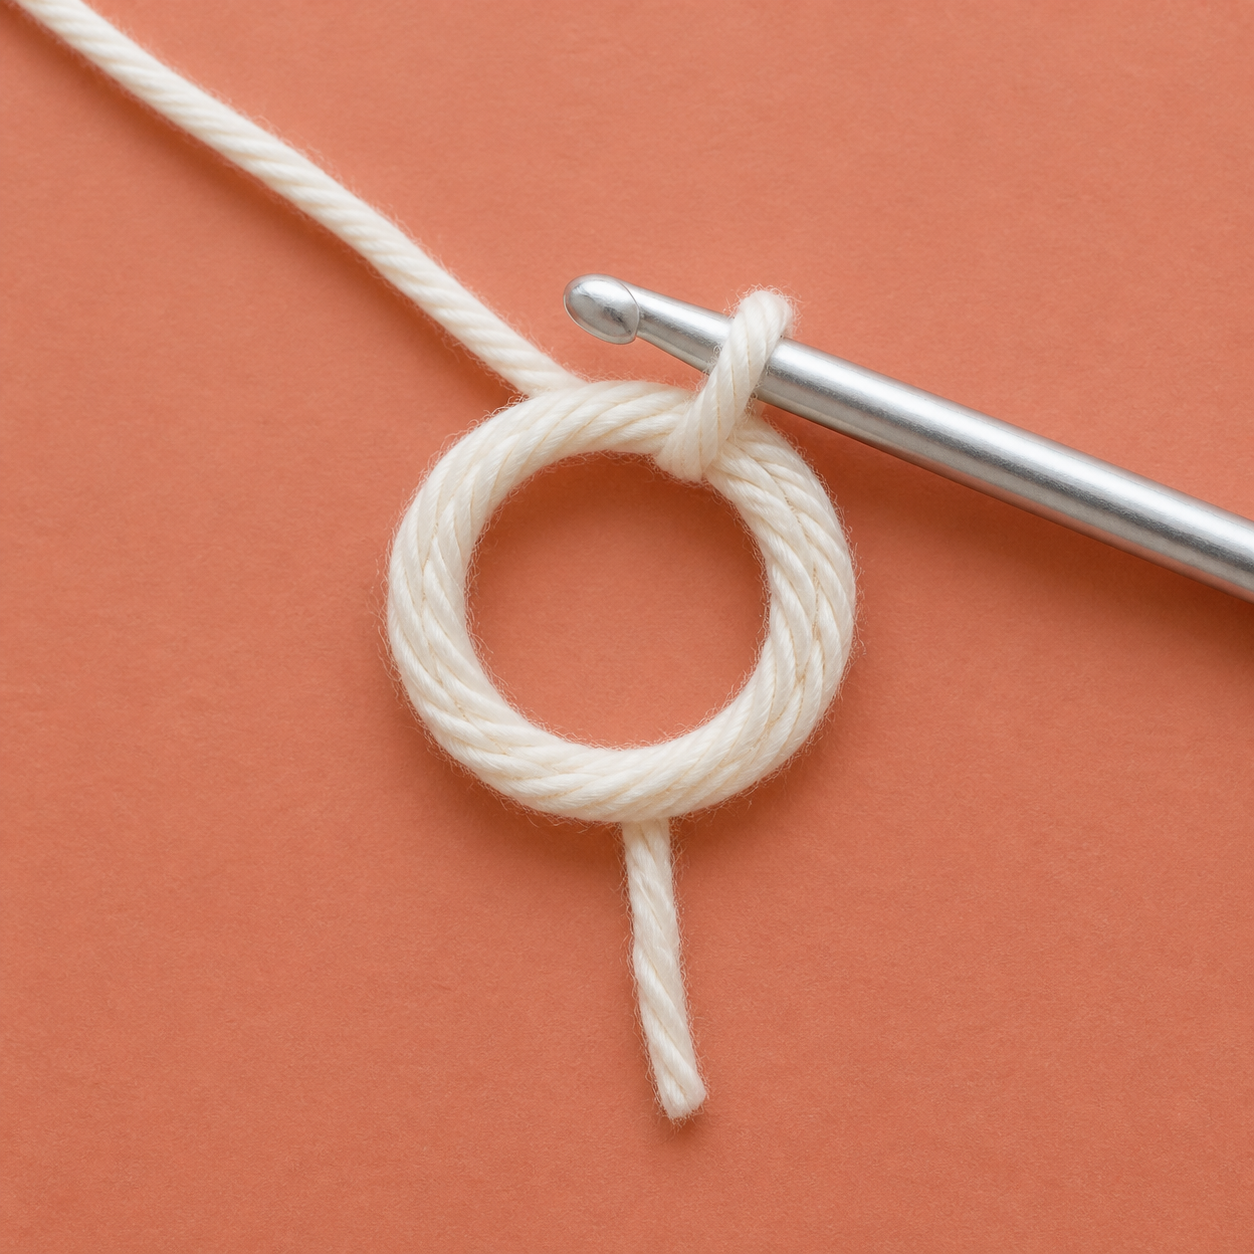
One state to confirm
Check this before Round 1: the center stays open.
The hook goes through the whole ring, not under a single strand. Keep the ring open until the first-round groups are established; the loose end is the tail, not the place to insert the hook.
-
Step 1
Wrap yarn to make a loop.
Keep the working yarn and tail separate.
-
Step 2
Insert hook through the loop.
The hook passes through the open center.
-
Step 3
Yarn over and pull up a loop.
One new loop sits on the hook.
-
Step 4
Chain 1 to secure.
The ring remains open for Round 1.
AI-assisted instructional visual. These images support the named state; use the written step and your own visible loops as the deciding check, not image realism.
Don’t like magic rings? Use a chain-4 ring in the project instead.
Technical action diagrams
- Action 1
Wrap yarn to make a loop
Cross the working yarn over the tail to create one open ring. Keep both strands visible.
Look for: The tail points down from the loop; the working yarn leads to the yarn ball.
- Action 2
Insert hook through the loop
Pass the hook through the open center of the ring before catching the working yarn.
Look for: The hook enters the open loop, not under only one strand.
- Action 3
Yarn over and pull up a loop
Catch the working yarn and pull it through the ring so one new loop sits on the hook.
Look for: The ring stays open below the hook.
- Action 4
Chain 1 to secure the ring
Yarn over and pull through the loop on the hook once. Then begin the Round 1 stitches into the ring.
Look for: The securing chain is not automatically a stitch unless the project says it is.
Check before returning
Look at the yarn, not only the diagram.
Before moving on, you should still be able to identify the center ring, the working yarn, and the tail.
Common mistake: Pulling the tail before the first-round stitches are established can make the center difficult to work into.